
Learn how to easily make SVG cut files using Illustrator. By creating your own cut file, you will easily create products using Cricut explore or silhouette cameo.
Lots of readers do a search on how to make cut files independently. For this reason, this post was made.
Although there is a lot of software that can be used. I prefer to use Adobe Illustrator to create SVG cut files.
Before starting, make sure you already have the application on your computer. Illustrator is an application that is easy to learn, many tutorials on Youtube that you can learn.
The following are the steps to create a cut SVG file using Adobe Illustrator for Cricut.
Step 1: Make a new document
Create a new document in Illustrator with a size of 12 “x12” or can be of another size as needed.

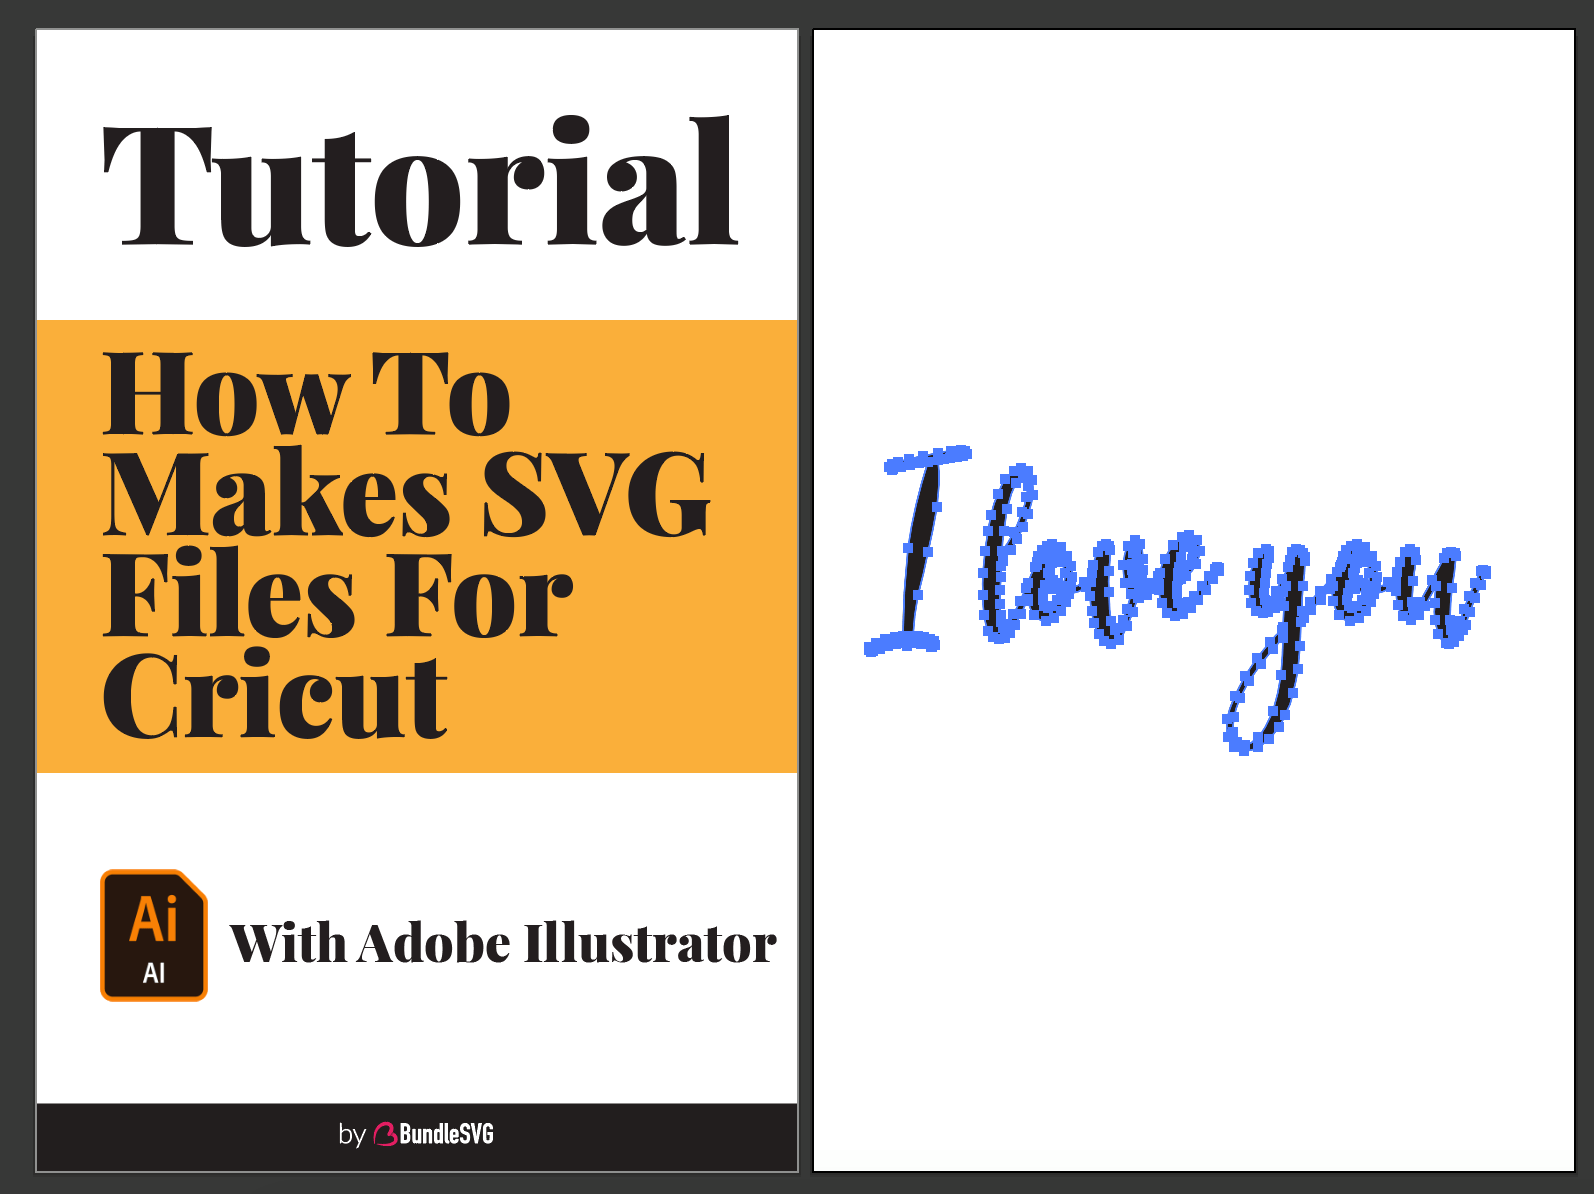
Step 2: Type the desired quote
Example in this tutorial: I love you. You can also make other words.

Step 3: Choose the Font you like
Standard fonts are usually too stiff. You can choose it, or download the free font here.

Step 4: Outline your writing
You can do this easily by press Shift + CTRL + O

Step 5: Unite
This is to facilitate your Cricut in reading each letter so that it is not considered a separate object. Activate pathfinder by Window> Pathfinder – select unite.
Then an image like this will be generated:

Step 6: Compound Path
This is to facilitate the next process so that all objects are considered to be just one form. Object > Compound Path > Make

Step 7: Save as SVG
By default Illustrator’s main extension is SVG. So you have to save it in SVG format.
File> Save As

Don’t forget to select the SVG extension and save it. You can now open it in CricutF Design Space or Silhouette Studio.
Then your file is ready to be cut and used in all projects.
Hopefully, this tutorial helps you create SVG files using Illustrator. Good luck and thank you.
You Can Download This File (include SVG, EPS, PNG & DXF).